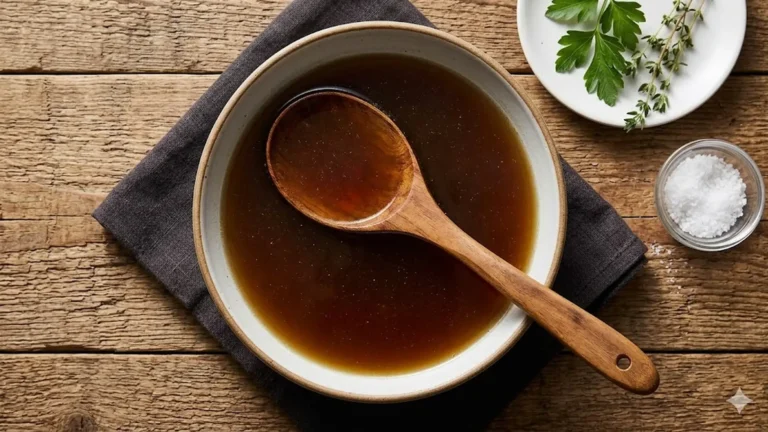
If you want to know how to make chicken stock that turns a pot of water into the backbone of every good soup, the whole secret is bones, time, and a gentle simmer. Pile chicken bones and a few vegetables into a pot, cover them with cold water, and let them barely bubble for hours while the collagen melts into the liquid. What you pour off at the end is richer, cleaner, and cheaper than anything in a carton, and it sets to a wobble in the fridge that tells you you did it right. This is the most useful thing a soup cook can learn, and it costs almost nothing because the best stock is built from scraps you were going to throw away.
Below I walk through what bones to use, how stock differs from broth, three reliable methods with real timings, the handful of rules that keep it clear and gelatin-rich, and how to store a big batch so you always have a jar within reach. Get this right and every soup you make afterward starts two steps ahead.
Stock vs. Broth vs. Bone Broth: What Is the Difference?
These words get used loosely, but the distinctions are real and worth knowing because they change how you cook. Stock is made primarily from bones, simmered long enough to pull collagen out of the connective tissue, which is what gives it body and that signature gel when chilled. Broth is made more from meat, simmered for a shorter time, lighter in body, and usually seasoned with salt so it can be sipped on its own. Bone broth is essentially a stock taken to the extreme, simmered for twelve to twenty-four hours, often with a splash of vinegar, to extract as much gelatin and mineral content as possible.
For cooking, stock is the workhorse. Its richness and neutral, unsalted base make it the ideal foundation for soups, stews, risottos, sauces, and braises, because you control the seasoning at the end. That is the version this guide focuses on, though the same method scales straight into bone broth if you simply simmer it longer.
What Bones to Use

Stock rewards exactly the parts of the bird most people discard. The carcass from a roast or rotisserie chicken is perfect, and so are wings, backs, necks, and feet. Feet and wings are especially prized because they are loaded with collagen, which is what makes a stock gel. The simple rule is that more bones mean a richer pot, so keep a freezer bag going and toss in every carcass and trim until you have enough to fill a pot.
You can build stock from raw bones or from the cooked bones left after a roast. Both work. Raw bones give a cleaner, more delicate flavor, while cooked or roasted bones give a deeper, browner, more savory result. If you want the richest, most golden stock, roast raw bones on a sheet pan at 425 degrees until well browned before they go into the pot. That step is optional, but it is the single biggest lever on flavor and color.
The Core Method, Step by Step
The technique barely changes regardless of which bones you use. Here is the version I make most weeks.
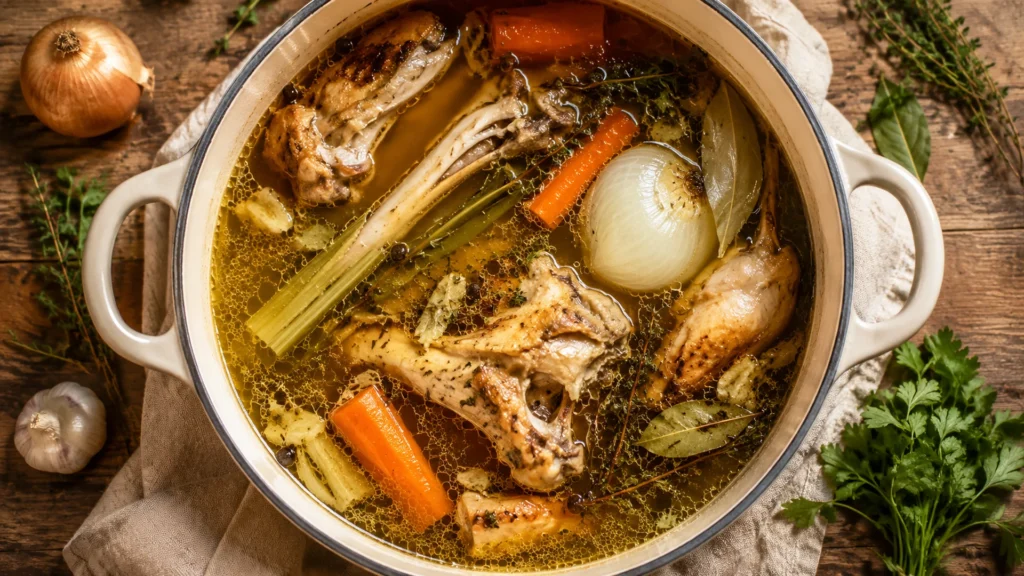
- Put the bones in a large stockpot and cover with cold water by an inch or two. Starting cold helps the liquid stay clear.
- Add a rough-chopped onion, a couple of carrots, two ribs of celery, a few smashed garlic cloves, a bay leaf, a small handful of parsley stems, and a few peppercorns. No need to peel anything; even onion skins add color.
- Bring it slowly up to a bare simmer, never a hard boil. You want lazy bubbles breaking the surface, nothing more.
- Skim the foam. In the first thirty minutes, gray foam will rise; spoon it off so the finished stock stays clean and clear.
- Simmer uncovered or partly covered for 4 to 6 hours for a rich stock, adding a splash of water if the bones become exposed.
- Strain through a fine-mesh sieve, ideally lined with cheesecloth, pressing gently on the solids. Cool, then chill, and lift off the fat cap that forms on top.
One rule matters more than the rest: do not let it boil hard. A rolling boil churns the fat and fine particles back into the liquid and emulsifies them, which is exactly what turns a stock cloudy. Keep it at a whisper of a simmer and it stays clear.
Should you add salt?
No, leave stock unsalted. Because you will reduce it in sauces and season the dishes you build from it, salting the stock itself robs you of control and risks an over-salted soup later. Season at the end of whatever you cook, not the stock.
What about vinegar?
A tablespoon of apple cider vinegar added at the start is a common trick, especially for long-simmered bone broth. The mild acid helps draw collagen and minerals out of the bones, and you cannot taste it in the finished stock. It is optional for a standard 4-to-6-hour stock and genuinely useful for an all-day bone broth.
Three Methods and Their Timings
Stovetop gives you the most control, but the slow cooker and pressure cooker are both excellent hands-off options. Here is what to expect from each.
The slow cooker is my default for a worry-free overnight batch, while the pressure cooker is a small miracle on a day when you want stock by dinner. For very long, hands-off sessions, the trusted test kitchens at America’s Test Kitchen and Cook’s Illustrated are good places to compare timings and refine technique.
Why Good Stock Turns to Jelly
When you chill a successful stock, it sets like a soft jelly, and the first time it happens it can look alarming. It is the best sign there is. That wobble is gelatin, the dissolved collagen from the bones and connective tissue, and it is what gives stock its silky body and a soup its luxurious mouthfeel. It melts back to liquid the moment you heat it. If your stock stays thin and watery even when cold, it simply needs more collagen-rich parts next time, like wings and feet, or a longer simmer. The jiggle is the goal.
Troubleshooting Chicken Stock
- Cloudy stock. Almost always caused by boiling too hard or not skimming. Keep it at a bare simmer next time and skim the early foam. To rescue a cloudy batch, strain it through cheesecloth.
- It will not gel. Not enough collagen or too much water. Use more bones, include wings and feet, simmer longer, or reduce the strained stock to concentrate it.
- Bland or thin flavor. Too much water for the amount of bones, or too short a simmer. Use less water, more bones, and consider roasting them first.
- Off or bitter taste. Often from vegetables simmered too long or too much of a strong aromatic. Keep the vegetables simple and do not overload on garlic or peppercorns.
How to Use Your Chicken Stock

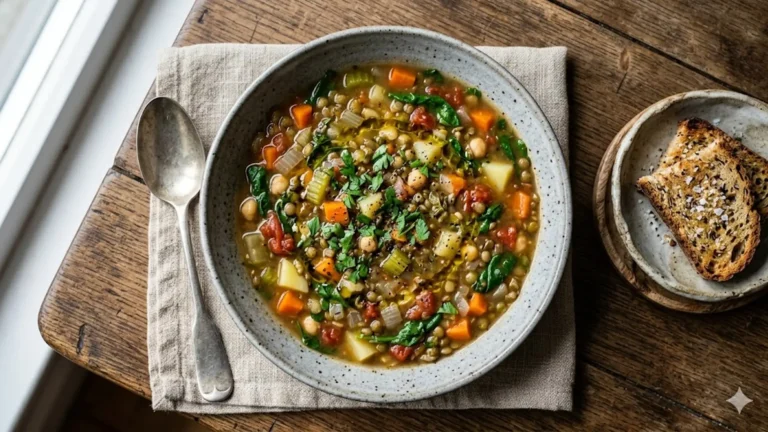
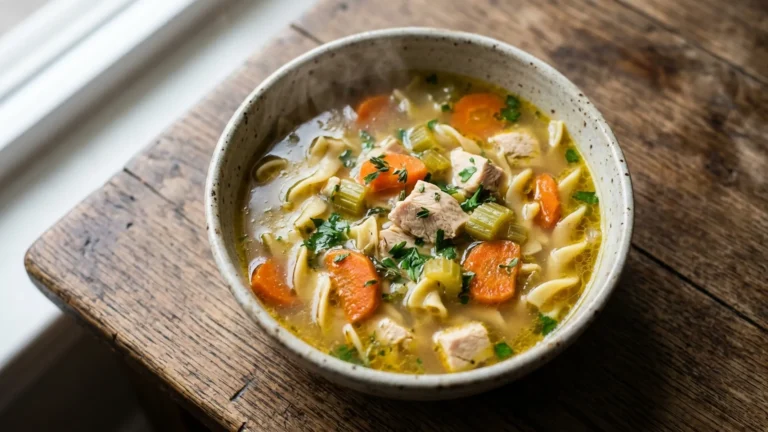
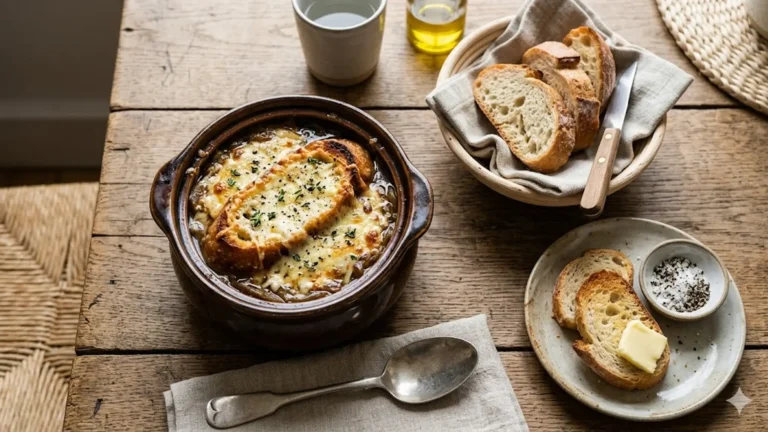
This is the payoff. Good stock makes everything you simmer afterward taste like you tried harder than you did. It is the base of nearly every soup worth making, from a clear, restorative bowl to a hearty lemon chicken soup or a pot of slow cooker chicken and dumplings. Use it to cook grains like rice and farro for instant depth, to deglaze a pan into a quick sauce, to braise beans and greens, or to thin a stew that came out too thick. It even carries the heartier builds, like a beef and barley soup, where its body keeps everything cohesive. Because it is naturally gluten-free, homemade stock is also a clean foundation for a rotation of gluten-free dinners, and its collagen makes it a favorite base for keto dinners too.
One more trick worth knowing: if you simmer a strained stock down hard until it reduces by three-quarters, it cools into a firm, jiggly concentrate that you can portion and freeze like bouillon cubes. A single cube melted into a cup of hot water rebuilds an instant, far better cup of stock, and it takes up a fraction of the freezer space that quarts of liquid do. It is the homemade answer to a stock cube, with none of the salt or additives, and it is the move I reach for when freezer room is tight but I still want real stock on hand all winter.
Storing and Freezing Chicken Stock
A big batch is the whole point, so store it to last. In the fridge, cooled stock keeps for about 4 to 5 days in an airtight container, and the fat cap that forms on top actually helps seal it, so leave it in place until you use it. For longer storage, stock freezes beautifully for up to 6 months. Freeze it in usable portions: quart containers for soup bases, and an ice cube tray for the splashes you want for pan sauces and grains. Leave headroom for expansion, since liquid swells as it freezes, and label everything with the date. With a freezer stocked this way, you are never more than a few minutes from a real soup.
Yield, Ratios, and Scaling Up
A loose working ratio makes planning easy: aim to roughly fill your pot with bones, then add cold water until they are covered by an inch or two. As a rule of thumb, the carcass and trim from one or two chickens, with enough water to submerge them, gives you somewhere between two and four quarts of finished stock, depending on how long you simmer and how much evaporates. The longer you cook, the more the liquid reduces and the more concentrated and richer it becomes, which is a feature rather than a problem. If a long simmer reduces your stock more than you want, simply top it up with water near the end.
Scaling up is just a matter of a bigger pot, and it is worth doing, because the work is the same whether you make two quarts or six. This is exactly why a freezer bag of saved bones pays off: every time you roast or buy a rotisserie chicken, strip the meat and bank the carcass, and within a couple of weeks you will have enough for a generous batch. The vegetables stay simple no matter the scale, since one onion, a couple of carrots, and two ribs of celery per gallon of water is plenty. Pile in too many vegetables and they start to muddy the clean, savory flavor that good stock is prized for.
Is Homemade Chicken Stock Good for You?
Homemade stock has a genuine, if modest, nutritional edge over the boxed kind, and the biggest one is simply what it does not contain. Commercial stocks and broths are often heavy on sodium and can carry additives and flavor enhancers, while a stock you make yourself is just bones, water, and vegetables, with you in full control of the salt. That alone makes it a better base for anyone watching their sodium.
Beyond that, a long-simmered stock pulls collagen out of the bones and connective tissue, and that collagen becomes the gelatin that gives the stock its body. It also draws small amounts of minerals from the bones and amino acids like glycine into the liquid. It is worth being honest here: stock is a nourishing, comforting food, not a miracle cure, and the more dramatic health claims made for bone broth run well ahead of the evidence. What you can count on is a clean, warming, protein-adjacent base that makes vegetable-rich soups more satisfying and helps you eat more of them. For a cook trying to put more wholesome bowls on the table, that is plenty of reason to keep a pot going. The deeply savory, soothing quality of a homemade stock is the kind of everyday cooking that publications like Bon Appetit have long championed.
Frequently Asked Questions
What is the difference between chicken stock and chicken broth?
Stock is made mostly from bones and simmered long enough to extract collagen, which gives it body and makes it gel when chilled. Broth is made more from meat, simmered for less time, lighter, and usually salted so it can be sipped. Stock is the better all-purpose cooking base because it is richer and unsalted.
How long should you simmer chicken stock?
On the stovetop, simmer 4 to 6 hours for a rich stock. A slow cooker needs 10 to 15 hours on low, and a pressure cooker about 45 minutes to an hour at high pressure. For a true bone broth, extend the simmer to 12 to 24 hours.
Why is my chicken stock cloudy?
Cloudiness comes from boiling too hard or skipping the skimming step, both of which emulsify fat and particles into the liquid. Keep the pot at a bare simmer, skim the foam in the first half hour, and strain through cheesecloth. A cloudy batch is still perfectly usable.
Do I need to roast the bones first?
No, but roasting raw bones at 425 degrees until browned before simmering gives a deeper, more golden, more savory stock. It is the single biggest flavor upgrade you can make. Using leftover roasted or rotisserie bones gives a similar boost with no extra step.
Should I salt my chicken stock?
Leave it unsalted. You will season the dishes you build from the stock, and an unsalted base gives you full control, especially when you reduce it into sauces. Salt at the end of cooking the final dish, not the stock itself.
How long does homemade chicken stock last?
Cooled stock keeps about 4 to 5 days in the fridge and up to 6 months in the freezer. Freeze it in quart portions for soups and in ice cube trays for small splashes, leaving room for expansion and labeling each with the date.
Bottom Line
Learning how to make chicken stock is the highest-return skill in soup cooking, and it asks almost nothing of you but patience. Save your bones, cover them with cold water, add a few humble vegetables, and hold the pot at a bare simmer for a few hours while you go about your day. Keep it from boiling, skim the foam, leave the salt for later, and strain. What you get is a clear, gelatin-rich base that makes every soup, sauce, and braise that follows taste deeper and truer. Make a big batch, freeze it in portions, and you will wonder why you ever bought it in a box.